
Summary
LearnUpon lets you connect your Salesforce instance to multiple portals. Salesforce admins can use this feature to gather Contact and User data from more than one portal.
The Salesforce package also tags the relevant membership record on a per portal basis. This feature makes reporting within Salesforce accurate for each of your portals.
Note: Your initial Salesforce connection must use your .learnupon.com address. You cannot set up the initial connection via your white label address. After the initial connection from the .learnupon.com address, you can connect to Salesforce from either .learnupon.com or your custom URL.
Connecting Salesforce to your LearnUpon portals
You need to follow this process for each portal you connect to your Salesforce environment.
Example: if you have 2 portals, you connect Salesforce to each portal separately.
Connect an additional portal to your Salesforce environment:
- From the primary navigation menu, select Settings.
- From the Settings page, select Integrations and then select Salesforce settings.
- From the Salesforce settings page, select your installation environment, Production or Sandbox.
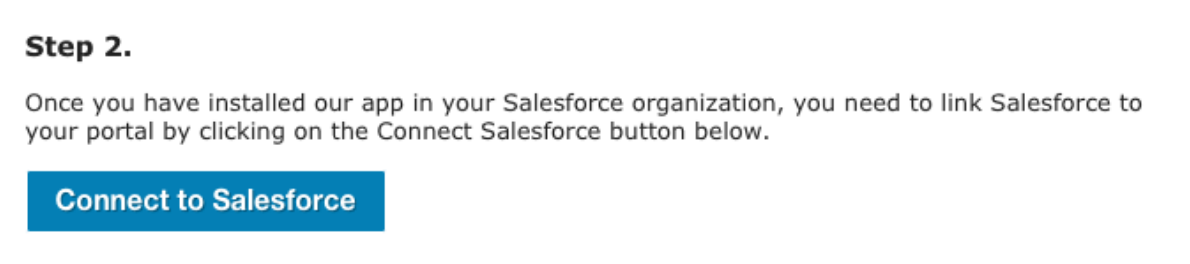
- For either your Production or Sandbox environment, select Step 2 on the following page: Select to Connect to Salesforce.
- After selecting Connect to Salesforce follow all on screen instructions to link Salesforce to your chosen portal.
Repeat steps 1 through 5 for each of your portals, to connect them to your Salesforce environment.
Note: LearnUpon recommends selecting All Users when installing the Salesforce package.
The portal selector and when it applies
Setting up the portal selector is only required when the following applies:
- Your users are accessing LearnUpon from within Salesforce.
- Your users are accessing LearnUpon from within a Salesforce Community.
The portal selector is not required if users access your portal via a LearnUpon landing page.
Where this is the case, you do not need to set up the portal selector. The integration will still sync enrollment data for all connected portals where connected.
How it works
The portal selector lets you determine which business rules you want to follow. This in turn lets you choose which LearnUpon portal to send your Salesforce users to.
To set up this process, you must add a custom field to the User Object in Salesforce. You will then supply the API field name of the field to our custom settings.
Example of using the portal selector with a picklist in Salesforce
In Salesforce, you can create a picklist field, with the subdomain of each LearnUpon portal. You then select the LearnUpon portal details for each user or apply it via a workflow rule if required.
You can also build a formula in Salesforce that looks at a particular field in Salesforce. This could be a new or existing field in Salesforce, where the selection in this field determines the specific portal to send the user or contact. The API would then create the user in that portal, based on this choice.
Note: If the portal selector is not set up, or the output does not match a connected LearnUpon portal, the application's default setting sends the user to the oldest connected LearnUpon portal.
The example below shows how to create a picklist field with your portal subdomain names as the values. You then populate the field name within the custom settings in Salesforce.
This allows you to send the details of the subdomain to LearnUpon, when a user accesses your LearnUpon portal within Salesforce.
Creating an example field in Salesforce
- Navigate to Setup > Customize > Users > Fields
- In User Custom Fields, select New
- On the next page, select Picklist and then select Next
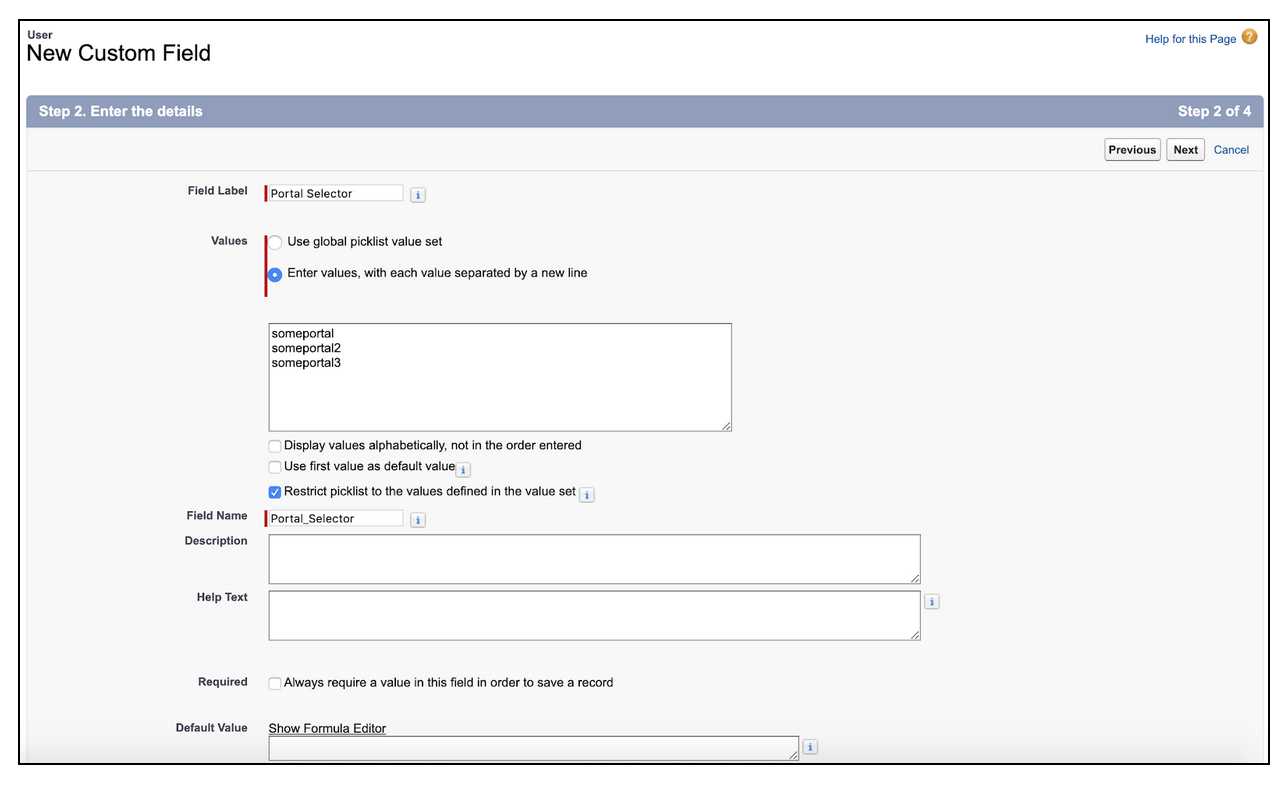
- In Field Label, give your field a valid name such as “Portal Selector”, and select the checkbox option Enter values, with each value separated by a new line
- In the text box, provide a list of portal names. Ensure to choose the subdomain name as per your portal URL. So if your portal URL is https://someportal.learnupon.com, enter someportal as a picklist option
- Select Next, choose which profiles can see the field, and whether they see it as read-only or as editable, then select Next
- Choose the page layout for the field. Select Save to finish.
Populating the LearnUpon Custom Settings with the portal selector field
Once you create a picklist field, you can populate the LearnUpon custom settings with the API name for the chosen field label. The API name for the field tells the LearnUpon Salesforce package which field to look at on the User object.
The Salesforce application runs a query against the specific user's record. This query result sends the selected portal subdomain name to LearnUpon for the selected user.
Retrieving the API Name for the picklist field
- Navigate to Setup > Customize > Users > Fields
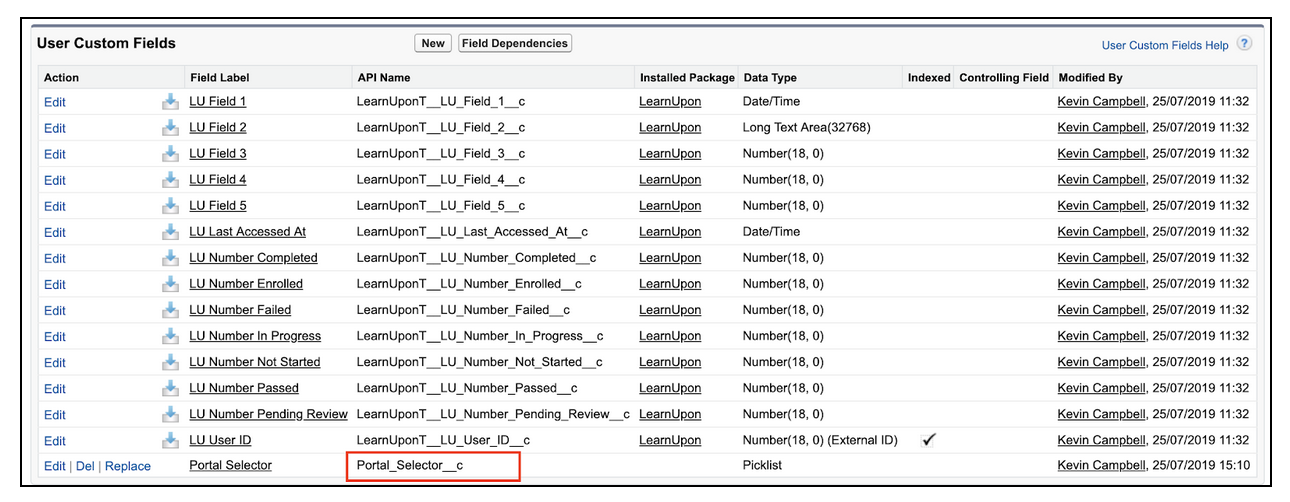
- In User Custom Fields, locate the picklist created in the previous section
- Under API Name, highlight and copy the name. In the screenshot below, it is called Portal_Selector__c
Populating the LearnUpon Custom Settings with the picklist API name
- Navigate to Setup > Develop > Events > Custom Settings
- Select Manage beside the custom setting named LearnUpon
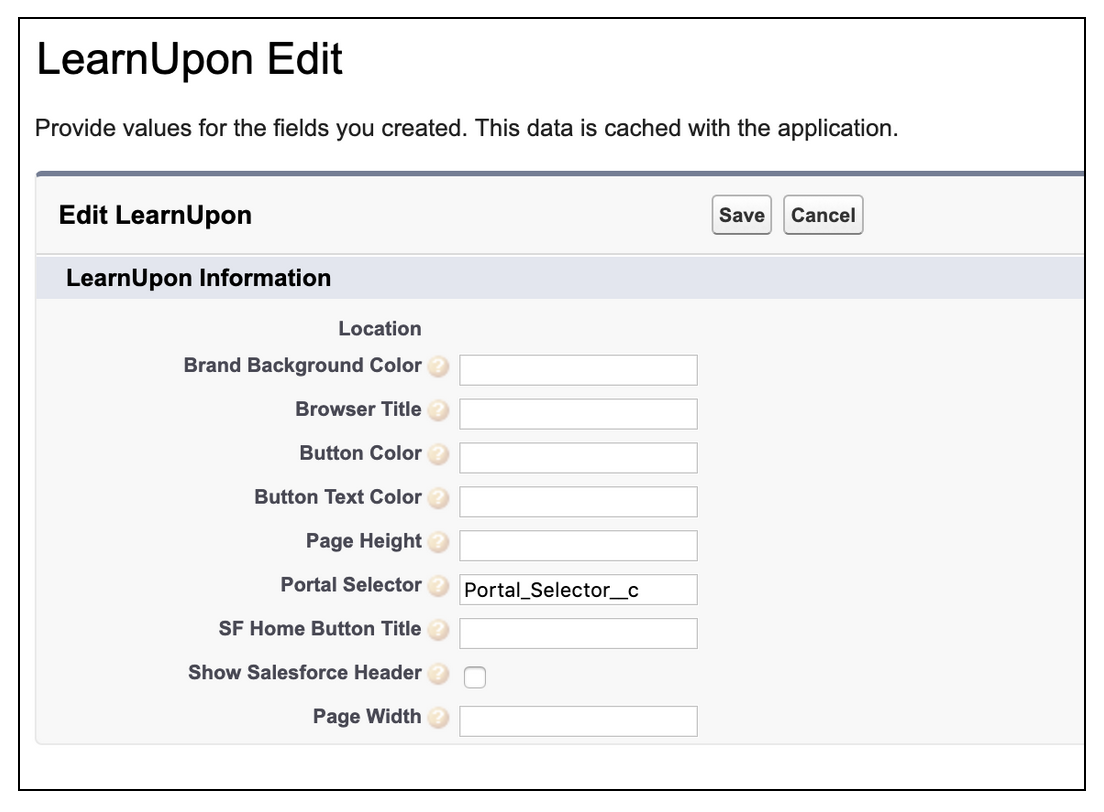
- If you do not see any field options, select New at the top section
- In Portal Selector, paste the API Name for your field and then select Save
Choosing a portal for a user
Use your custom field, linked to your settings, to determine which users go to which portals.
To determine what portal to send specific Salesforce users to, follow the steps below:
- Navigate to Setup > Manage Users > Users.
- Select a user and select Edit.
- Locate the new picklist field and choose a subdomain.
- Select Save.
When a user selects the LearnUpon tab in Salesforce, or your Salesforce Community, the application sends the user to the correct portal.
See: